To manage the platform and access every Agent in both the admin panel and the Agent Hub, you will need the ‘Global Admin’ permission. Please take a look at the permissions scheme below. Please also make sure to assign this role to Genow.
We distinguish between standard roles for Agent administrators and users, who should be able to see (and manage in case you are an admin) all knowledge sources assigned to the Agent, and custom roles, which grant access to a specific set of knowledge sources.
We differentiate between use cases, knowledge assets and knowledge sources. This distinction is relevant for further configuration. Please read the following article beforehand: Differences between Agents, Knowledge Assets and Knowledge Sources. For Platform Owners, we suggest using the permission superadmin to receive all admin panel related permissions over all Agents.
- Create Permissions
- Permissions Scheme
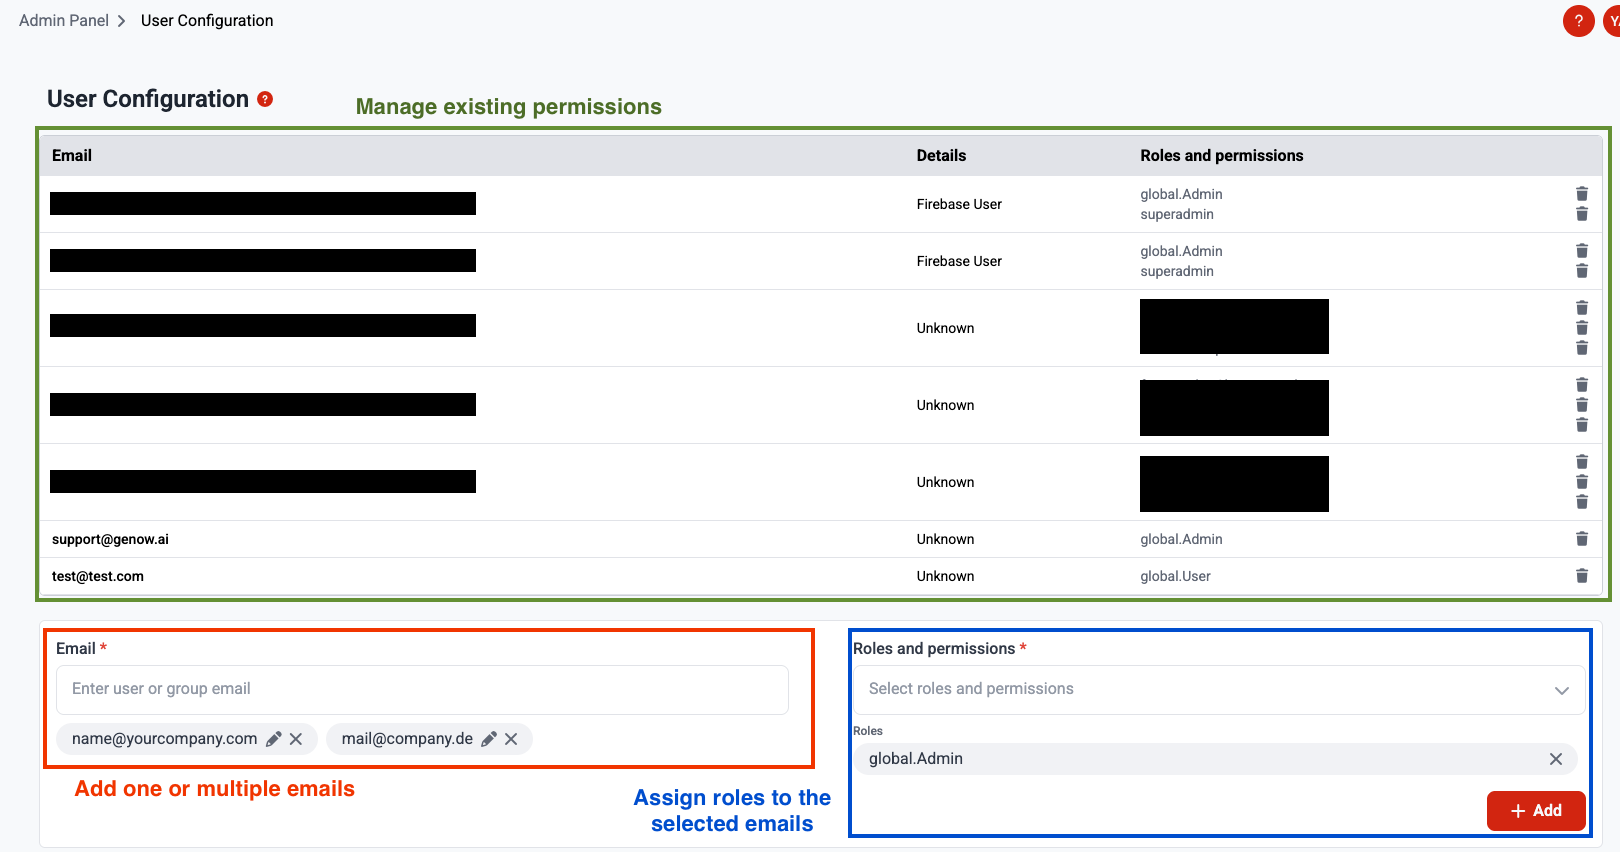
Creating user permissions is done in three steps:
On a platform level, we would recommend having a small group of people (global (platform) admins) that manage the platform, all Agents as well as permissions. This group will receive the global.Admin role and can therefore read and manage all use cases and every setting on the platform.On an Agent level, the following permission groups are needed most of the time:
If this have not been done before, first create the needed groups (see step 1).Two further steps are then required. Please also refer to the Microsoft documentation for these two steps:.

Identify groups and create roles
Identify relevant admin and user groups for your Agents. Roles are granted on group level.
(1) Identifiy and create Groups
Generally, we distinguish between the following permission groups:- Platform Admin: manages the platform and user permissions (standard role global.Admin).
- Agent Admin: manages the Agent and all assigned sources (standard role
useCase.[UseCaseID].Admin). - Basic user: read permissions for general Agent knowledge and access to all knowledge sources assigned to the Agent (standard role
useCase.[UseCaseID].User) - Regional or knowledge-specific user (Optional): access to specific knowledge and therefore to a specific knowledge source (custom role).
In the first step, please create relevant groups in your IAM system. Supported systems are Google and EntraID. Every user in a group will receive the same permission. Users can be part of multiple groups.
- Agent Admin: manages the Agent.
- Agent User: read permissions for general Agent knowledge.
- Regional or knowledge-specific user (Optional): access to specific knowledge and therefore to a specific knowledge source.
The Agent Admin should be able to tell you about which groups are needed. These groups can than be created within the existing permission system. Later in the process (step 3), these groups will be granted the actual permissions.
(2) Extracting Needed Information
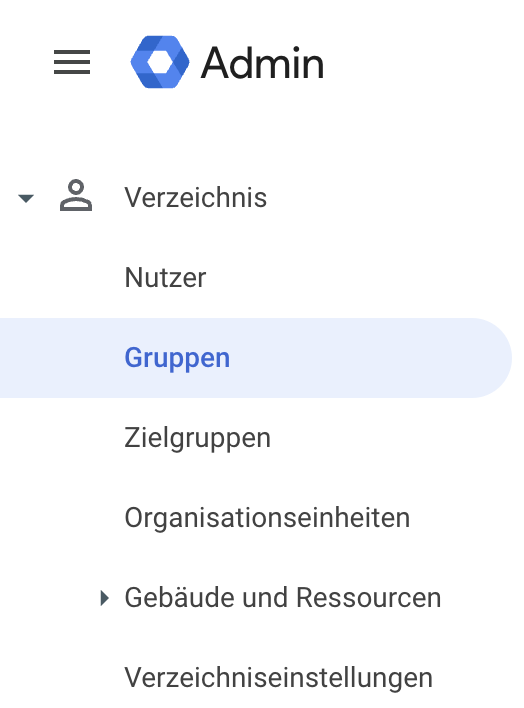
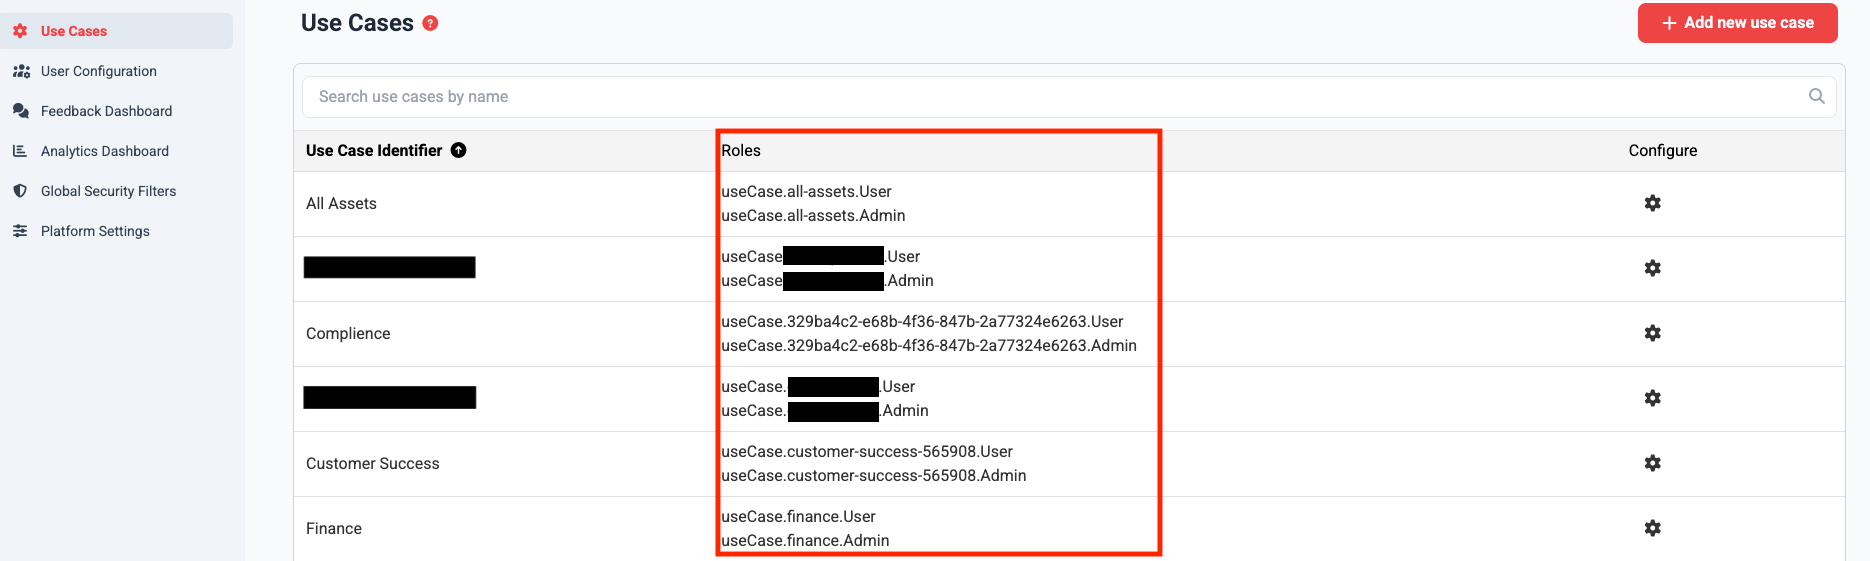
You can find the standard roles for Agents in the admin panel of the Genow platform.- Go to the admin panel via the button in the top right-hand corner of the main view, then navigate to Agents. If you are an admin, you can also access this page directly by adding /admin/use-cases to your Genow URL.
- On this page, you will find all standard role permissions for every Agent.
- They have the following format:
useCase.[UseCaseID].AdminanduseCase.[UseCaseID].User.
Note that custom roles which grant specific access to a restricted amount of knowledge source have to be created by Genow.
(3) Create and Assign Permissions
- Via EntraID
- Google & Admin Panel
Before creating and managing role permissions in EntraID, Genow should have been registered as an app in EntraID. Find more information here
(1) Create App Roles:
You can create app roles via the Microsoft Entra Admin Center. To do this, follow the instructions from Microsoft. In the user interface of entra you can navigate to the App Roles via the menu on the left-hand side (App registrations -> Enter application name -> App roles). There you can create app roles and assign authorizations.- When you create an app role, a value is required. This value represents a specific role permission. For example: useCase.testUseCase.User
- You need a new app role for every possible role permission.
- You can add a description to ensure better clarity in the management of rights.
(2) Assigning App Roles to Groups
- Once you have created the app roles, you need to assign them to groups.
- You can assign these to the groups in order to authorize them to knowledge sources and thus also knowledge assets and Agents.
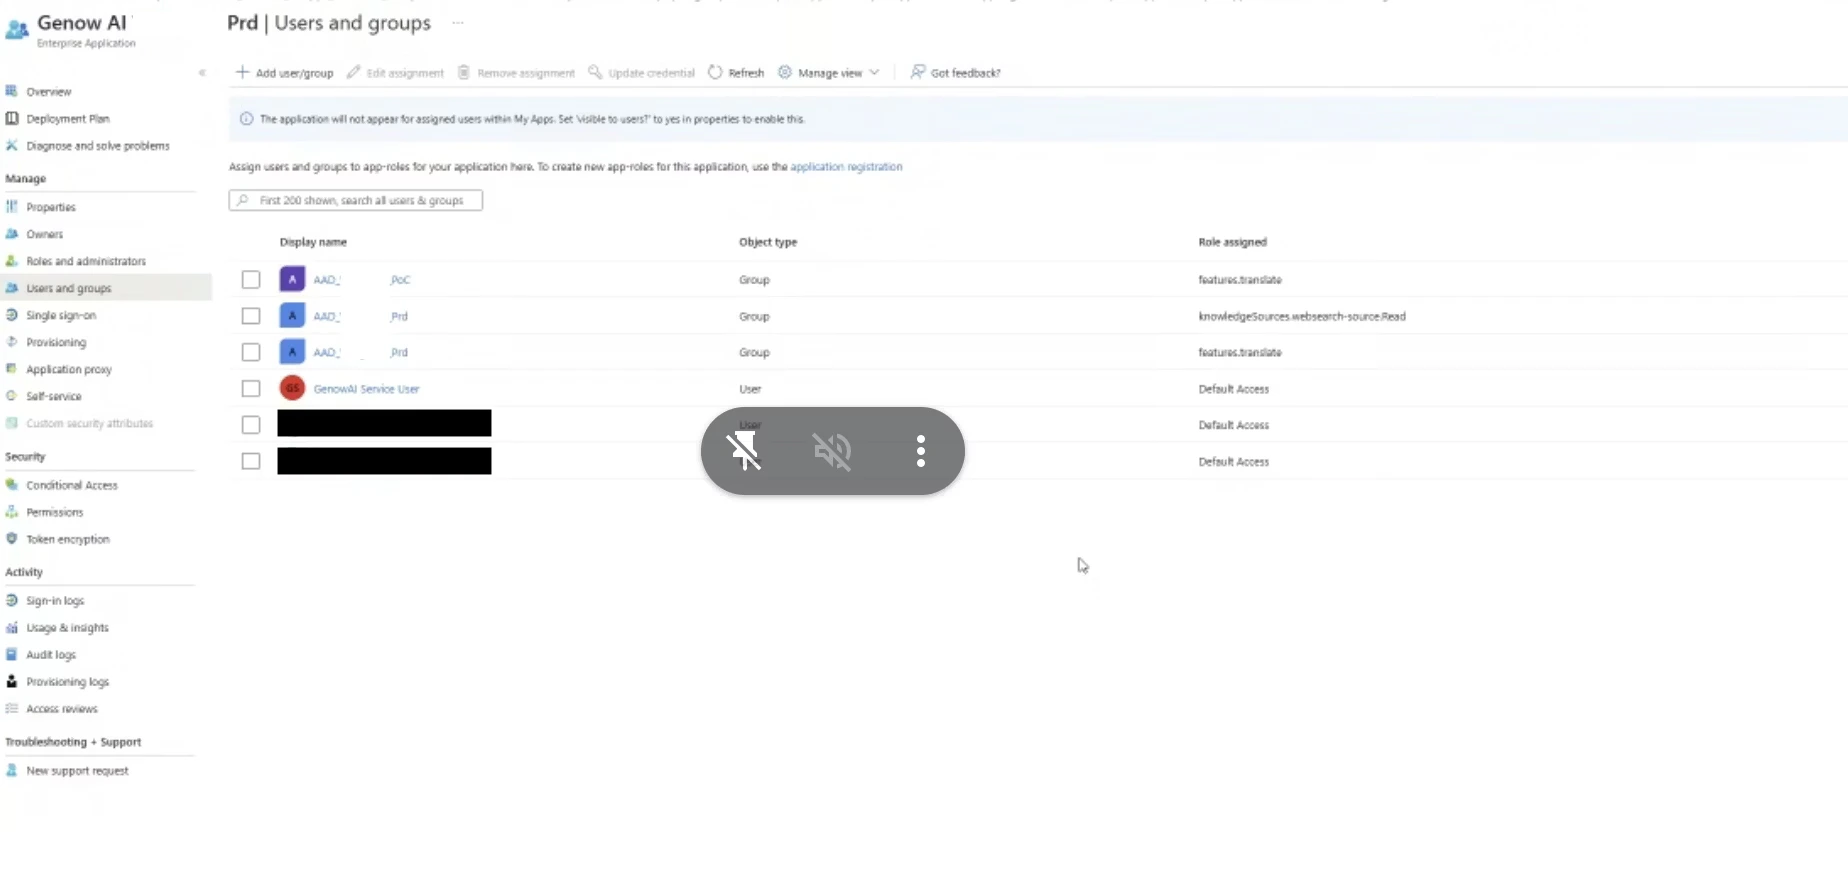
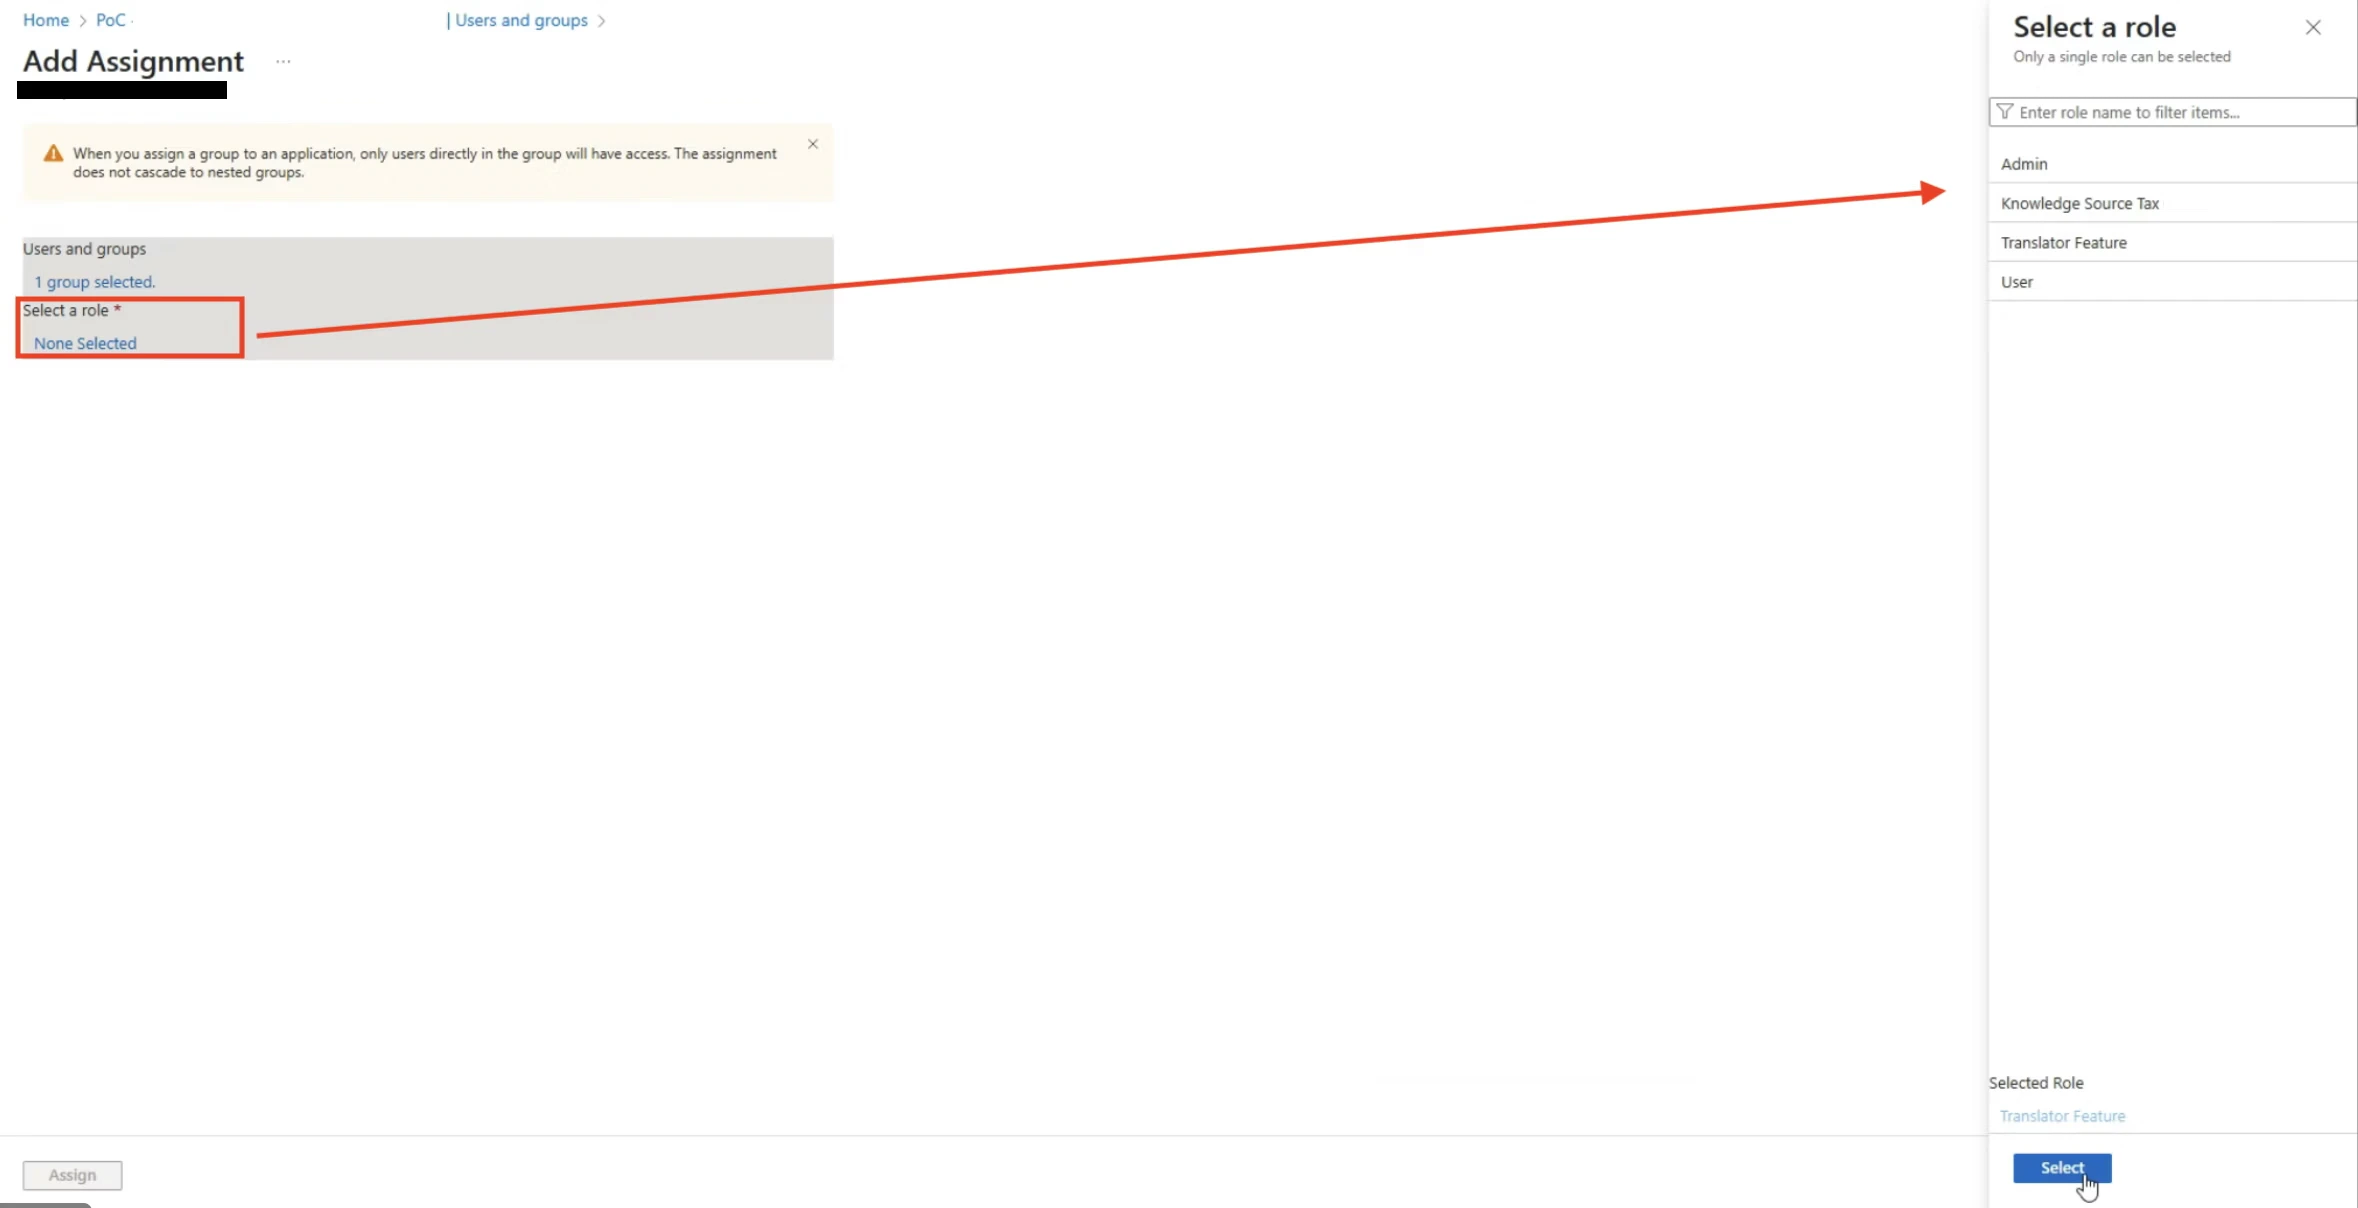
- EntraID navigation: You can access this configuration by navigating to Enterprise apps -> Enter the app name -> and then select
Users and Groupsvia the left menu bar (Screenshot below). - Then klick the plus-button “add user/group”. Each app role (/user permission) needs to be added individually.